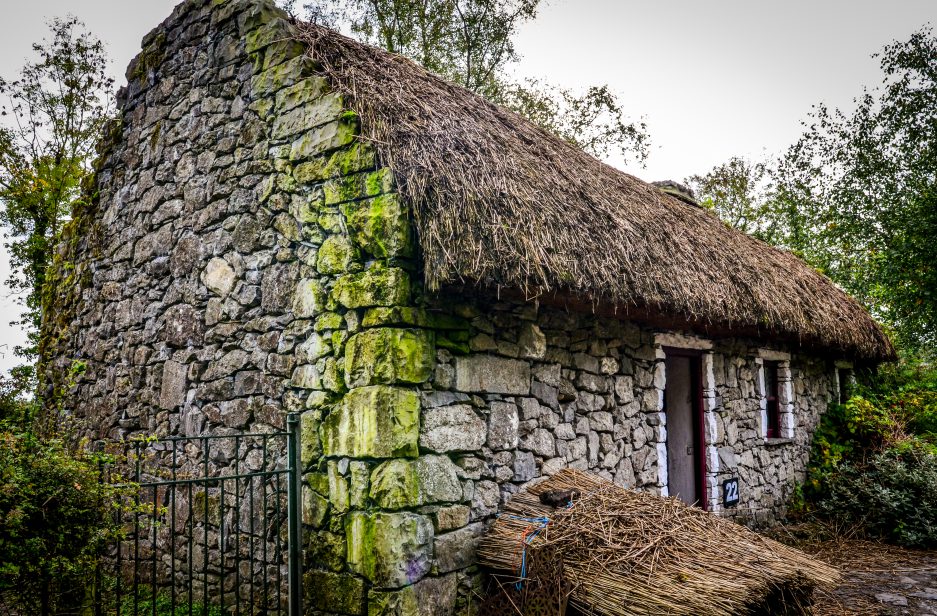

Probably one of the most recognisable traditions of Saint Brigid’s feast is the “Brigid’s cross”. These were and still are traditionally made from either reeds or straw (but feel free to make them from paper or whatever is available to you. For examples of paper crosses see folklore.ie here). These were prepared on the eve of the feast in a highly ritualised manner. Depending on the region these vary in complexity. The simplest resembling the characteristic four armed Brigid’s cross. They were typically nailed to the thatch of the roof, over doors and in animal byres to protect from fire, lightning and fairy influence. To read more about the traditions of Saint Brigid’s day traditions, including more about the cross please see my article here .
Anne O’ Dowd’s book Straw, Hay and Rushes also has an excellent section on the crosses, including photos and information on the museum examples and types.

.
.
.
What you will need:
Fresh rushes (or straw)
Scissors
Elastic bands or string
.
.
.
.
Trim the rushes to about 30 or 40 centimeters, depending on how big you want your cross. Pick the best rushes from the bunch.
Take a single rush for the center piece. Take a second rush and squeeze the middle and fold in half, like the photo below:

Now wrap this around the first rush like so:

Bend another rush and place it as follows (Making sure to always hold the center tight to stop it all unravelling):

Again, bend another rush as place going this direction:

Now, TURN THE CROSS ANTI-CLOCKWISE once. The rush you just placed that was facing to left should now be facing down. (If you think of a clock, it should go from 9 to 6). Now bend another rush and place it as follows:

Now every single time you add a rush, turn it anti-clockwise once and keep building up the pattern like below ( so add rush, turn, add rush, turn, add rush, turn until you are happy with the size of the cross):


.
.
.
Before placing the last piece, loosen a piece like the photo below and thread the final piece through it, placing it the same way you did the previous steps. Then pull the piece tight. This will hold the hold the whole thing together for you to tie off the ends, and will keep the pattern woven tighter:
.
.
.
.
.
It should now hold together for you to tie the ends off and trim:


Hopefully this was of help for you and you should now have your own Brigid’s cross to protect your home or animals. Don’t forget to follow on Facebook at: https://www.facebook.com/Irishfolklore and feel free to leave pics of your completed crosses in the comments of the facebook post. Happy Saint Brigid’s Day!
And if perhaps you do admire,
That this great house did ne’er take fire,
When sparks ,as thicks as stars in the sky,
About the house did often fly,
And reach’d the sapless wither’d thatch,
Which dry spunge the fire would catch,
And where no chimney was erected,
Where sparks and flames might be directed
St Bridget’s cross hung over the door ,
Which did the house from fire secure
NFC Iml 1148:465 + Iml 482:172

One thought on “How to make a Saint Brigid’s Cross:”